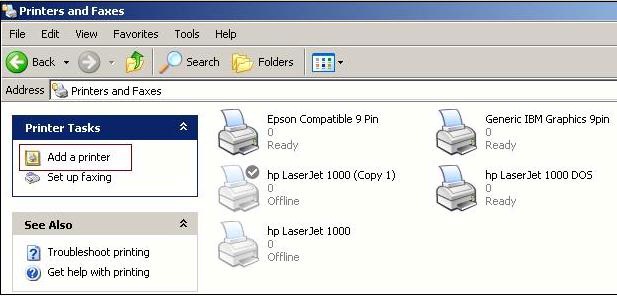
Go to Start->Control Panel->Printer and Faxes->Click on Add a Printer.
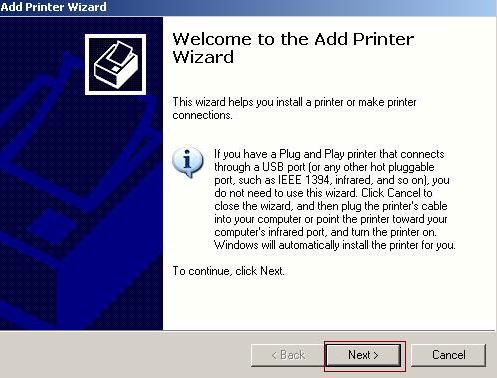
Click on next button
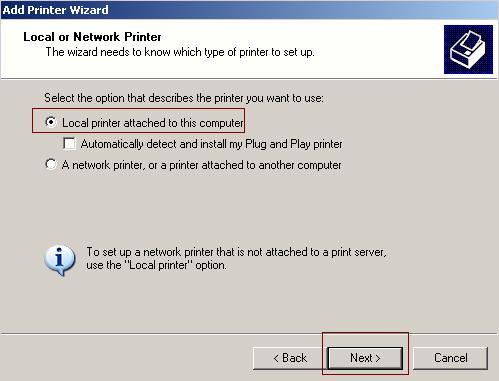
Select local printer attached to this computer (already installed printer) and click on Next button
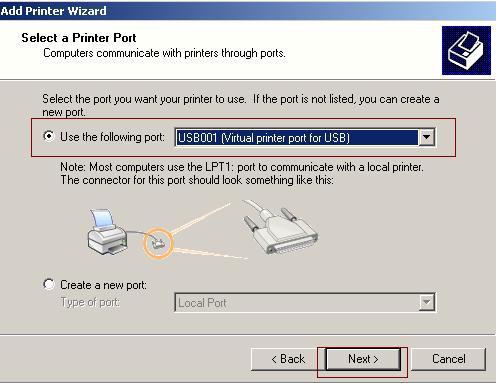
Select printer port ,if printer contain USB port select USB001(Virtual printer port for USB) otherwise
select LPT: (Recommended printer port) then click on next button.
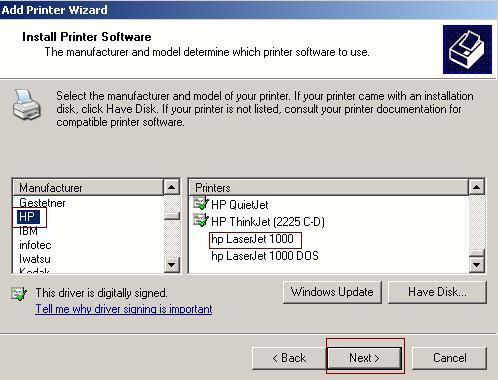
Select the manufacturer and model of your printer then click on next.
A driver is already installed for this computer.you can use same driver. Select keep existing driver (recommended) then click on next.

Type a name for this Printer, in this case printer name is Receipt Printer. Make the printer as default by selecting Yes.

To conform that the printer is installed properly you can print a test by selecting yes ,in this example we have selected no.

Click on finish. If you have followed the above steps correctly, then you have successfully installed the printer.
Now you can observe the icon Receipt Printer created in Control penal printer and Faxes folder.
|