Each School have their own designs, formats and the contents and want their students to carry one of the best ID cards.
How exciting it would be know, now you can design an ID card for your school by your own and even change the design and format every year as you wish?!
YES, School Admin allows you to do all of the above.
Lets quickly know, 'How?'
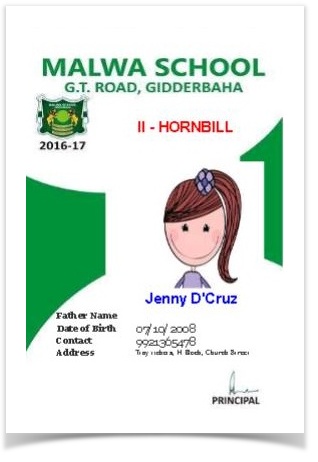
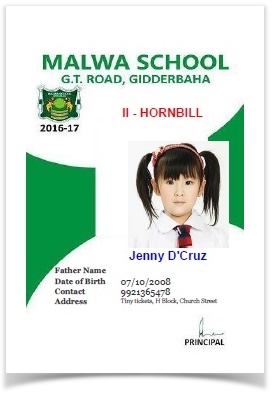
An example for id card generated by SchoolAdmin is shown below
|
Pick idcard.odt from Open office.
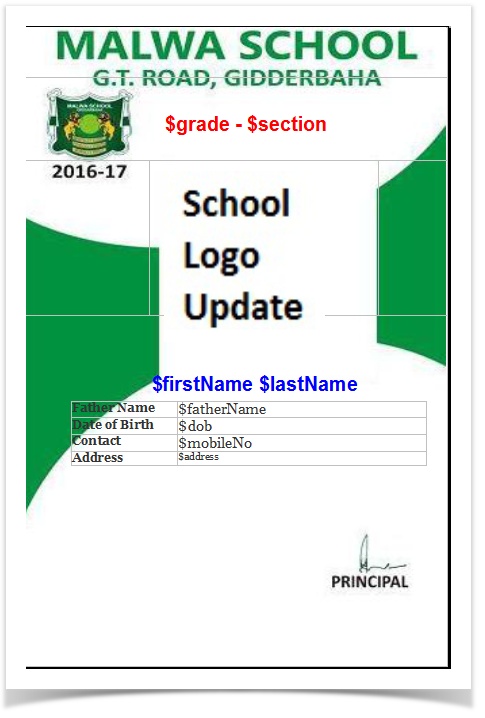
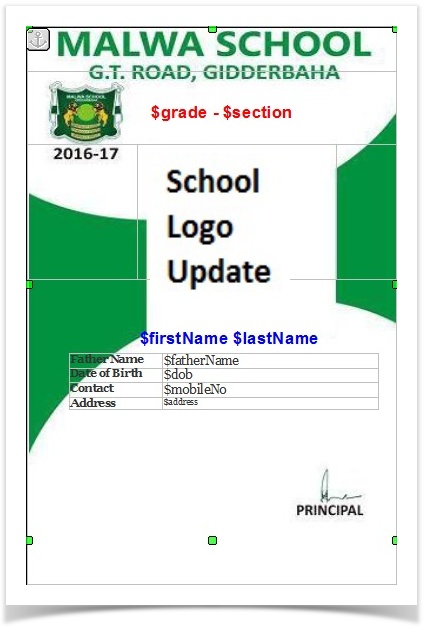
An ODT for id card looks as shown below
|
Now Lets see how to customize the ID card.
Step1: Pick idcard.odt from OpenOffice.
Step2: Clear or delete the contents in the ID card. you will get an empty template.
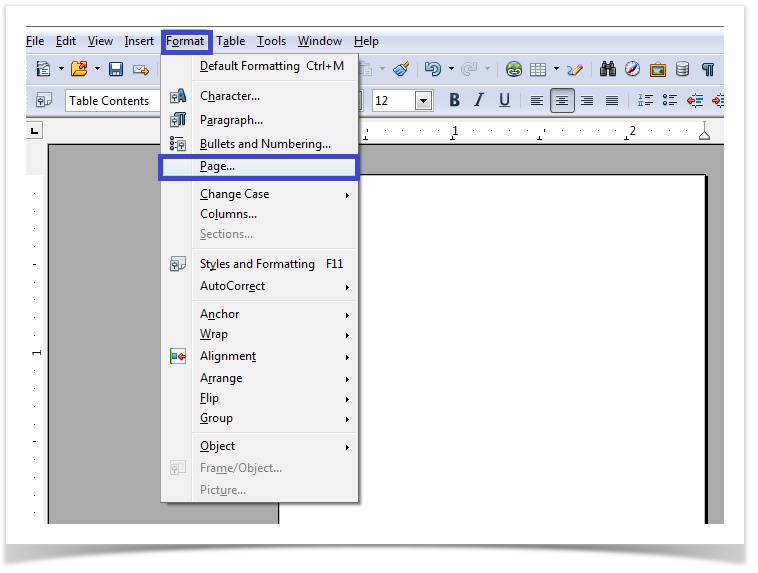
Step3: To set the size of the page. Click on format menu --> page,
|
On Clicking Page option a pop up will appear as shown below.
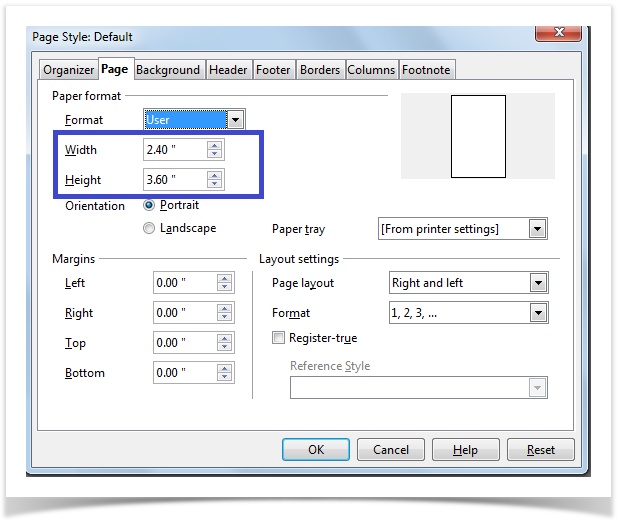
Step4: Set the width and height of the page i.e; size of the id card.
|
Once the size of the ID card is set in the odt,
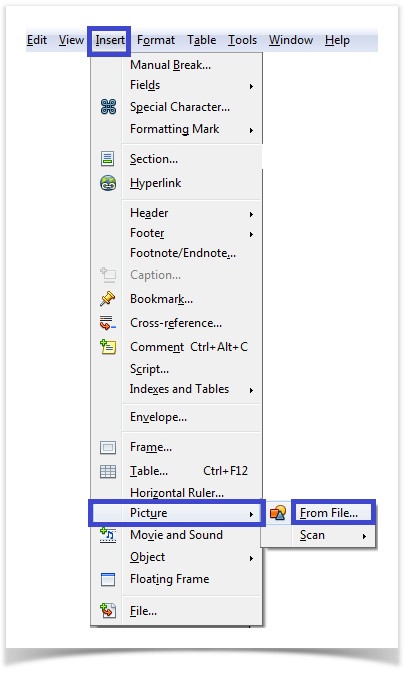
Step5: Go to Insert-->picture–>From File
|
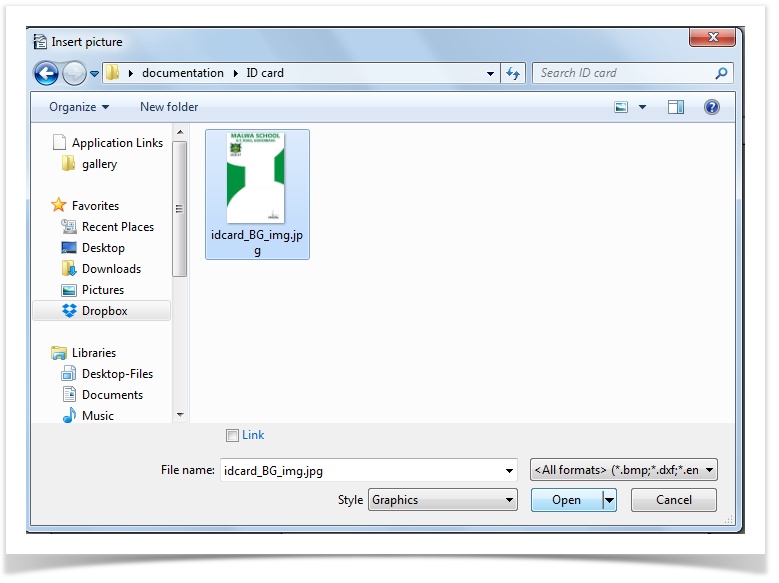
Step6: Browse and choose the background image for the ID Card.
|
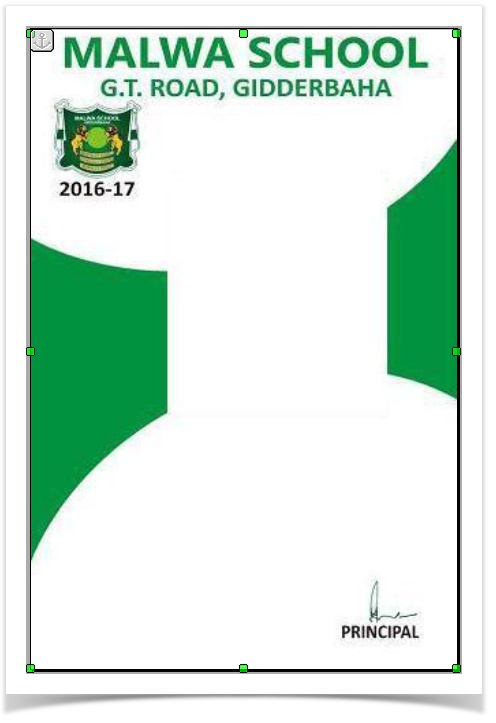
Once you insert the image it looks as shown below
Step7: Adjust the image by dragging the tiny green boxes on the boundary to fit the template as required.
| Click on enter to get another page as shown below.

|
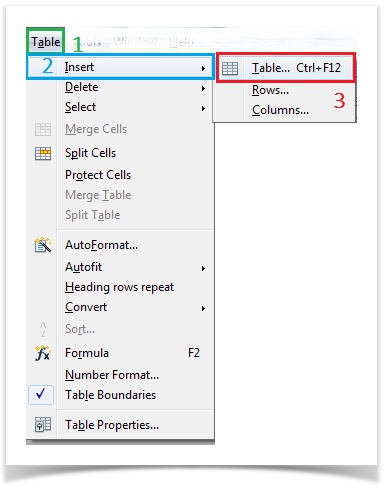
Step9: Draw tables to insert or fit your contents in place in the white sheet.
|
Step10: Insert number of rows and columns required
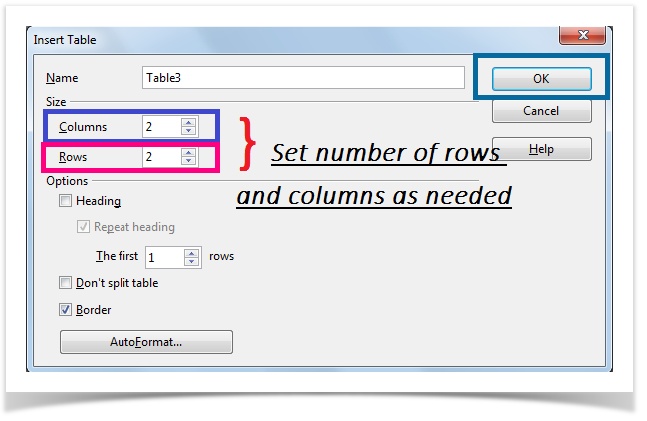
|
After adding tables and filling contents ODT will look as shown below
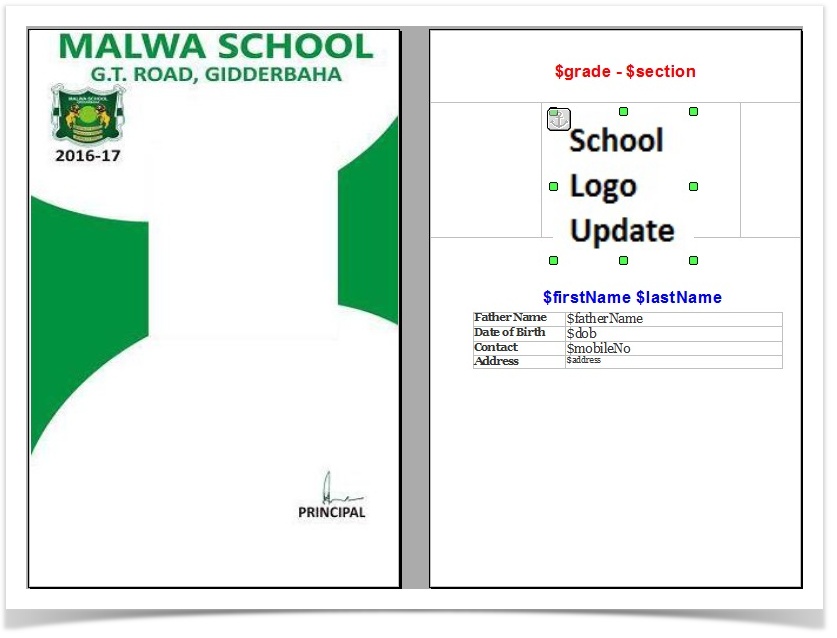
|
 | Hide the Table borders |
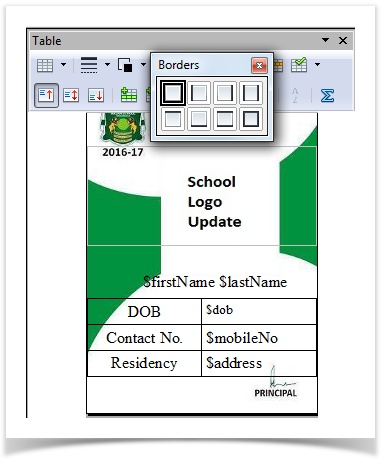
|
Step8: Set the image properties by right clicking on the image as shown below to wrap contents on image.
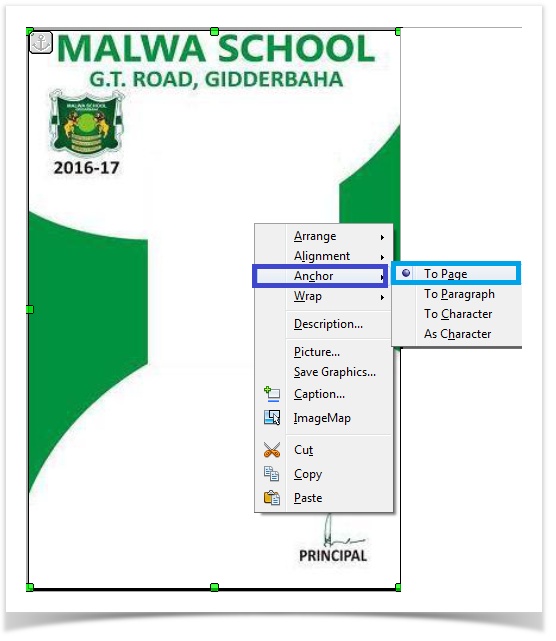
|
After wrapping the image will look as shown below.
|
Step14: Save and Replace the ODT in Open office.
ID card can be generated as shown below
|
