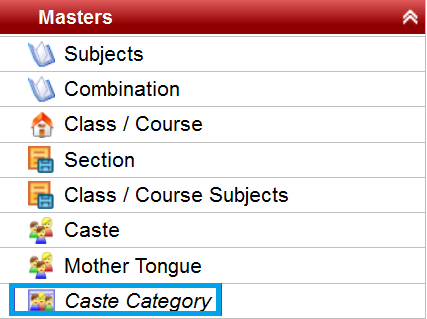
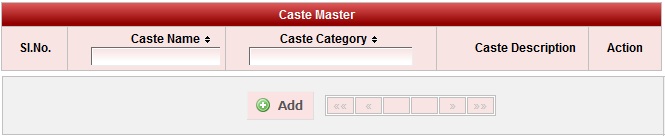
Creating Caste category is necessary to create a caste. |
Follow the Flow

|
|
|
Give caste category name according to the standards followed in your region. For Example : Caste Category name can be GM, 2A, 2B, 2C, 3A, 3B, SC, ST etc... If caste category is not known create a caste category by name NA indicating (Not Available). |
If you don't know the caste category for any of the caste, create a default caste category by name NA. i.e. Not Available |
|

|
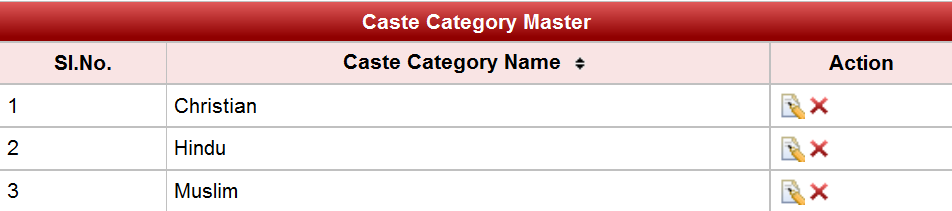
Click on the edit button |
 to edit the name of the caste category and click on update button top save the changes
| Declaration of Caste is required to specify for which caste the student belongs to. We can get a report of students with respect to the Caste / Caste category which is included in higher version of School Admin.
|
|


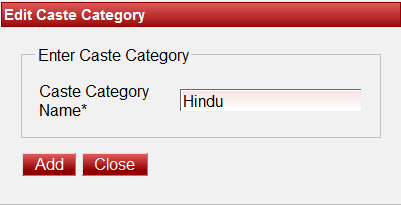
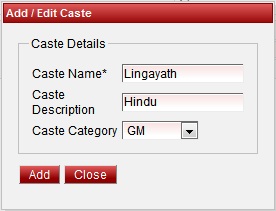
| In the Add / Edit caste category dialog, you need to provide the details as show in the screen. Caste name is the name of the caste. Example : Lingayat, Brahmin , Christian , Muslim ,SC etc., Caste Description is the details of that particular caste , which is not mandatory to give details. Caste Category Is the category to which the caste belongs to.
|
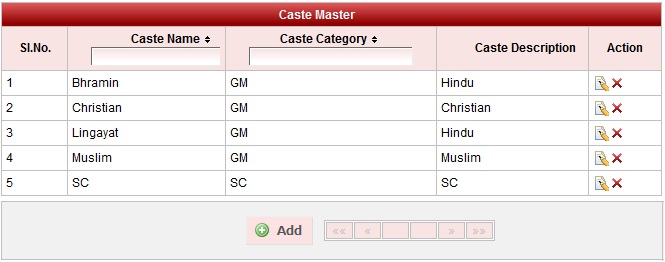
Edit or Delete a record
You can edit and change the added record by clicking on Edit icon  in Action column.
You can delete the record if created duplicated or not required by clicking on delete icon  in Action column.
Labels