Goto Admin Master click on Accounts Payment
| Accounts Payment is used for maintaining expense and income transaction of your school.
|

| Info Select the account name if you find in the list. Do not type again completely. If you do not find the account name only then type the account name (First letter must be Capital). This avoids duplicate creation of accounts. |
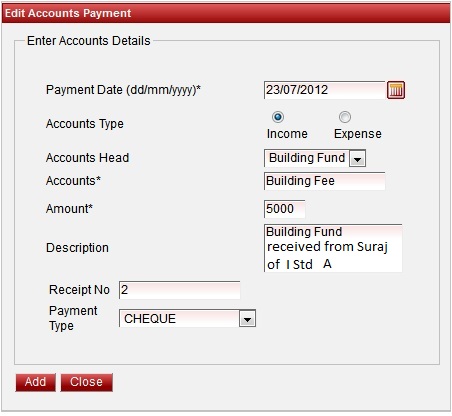
5. Enter the amount.
6. Enter the description.
7. Enter the receipt number.
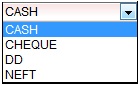
8. Select the payment type from the list.
9. Finally click on Add button. You will get the Added Successfully message.
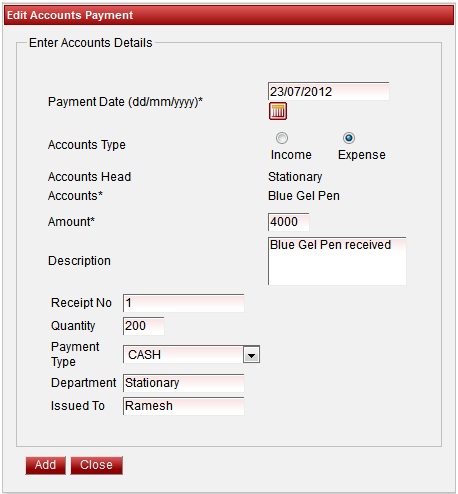
Add Expense Payment
Steps to add Expense Payment
- Select the payment date.
- Select the radio button to Expense.Window will change for Expense payment.
- Select the account head under which the expense payment you are adding will come. If there is no accounts head of respective expense account, create the account head else you cannot add the payment.
- Select the account as shown in below figure. Type the starting letter of the accounts name in Capital, if the accounts is already added you will find the accounts in the list. Select the account. If you do not find the accounts name you can type the account name which will be created in Masters - Accounts.
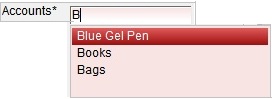
| Info Select the account name if you find in the list. Do not type again completely. If you do not find the account name only then type the account name (First letter must be Capital). This avoids duplicate creation of accounts. |
5. Enter the amount.
6. Enter the description.
7. Enter the receipt number.
8. Enter the quantity.
9. Select the payment type from the list.
10. Enter the department name for which the expense is made.
11. Enter the name of the person who issued.
12. Finally click on Add button. You will get the Added Successfully message.
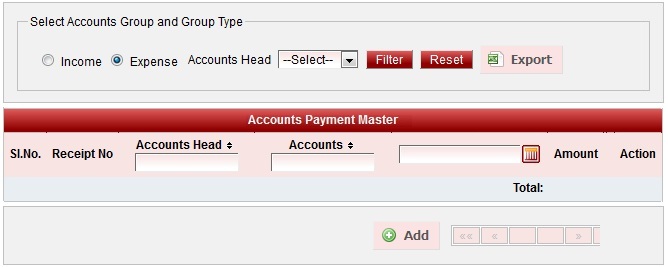
Filtering Accounts Payment , print voucher and exporting report.
Labels