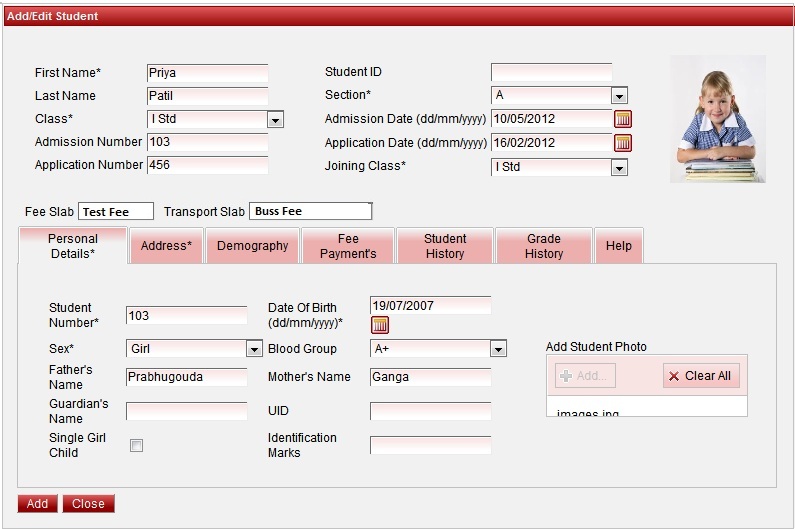
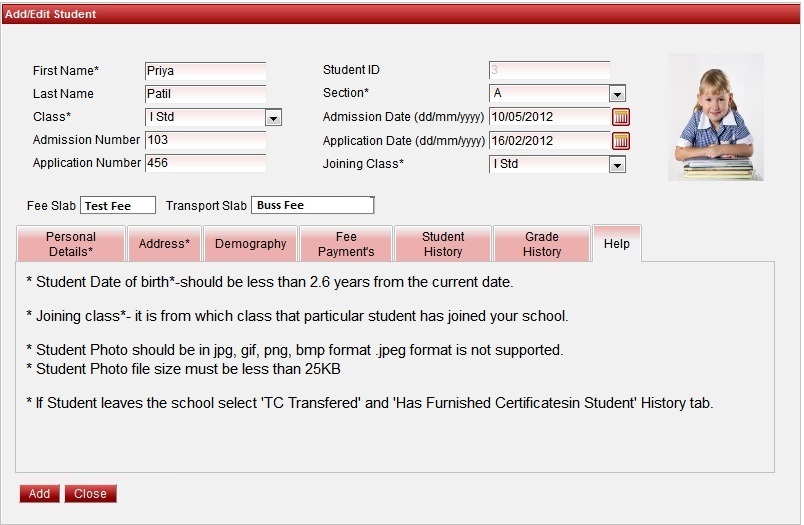
| Add the personal details as shown in the image. User has to fill the mandatory fields. Other fields can be filled by user if they have information. Student ID is the auto generated number. Joining Class is from which class the student is studying in your school. Class is the current class in which the student has joined. Student Photo should be in jpg, gif, png, bmp format . jpeg format is not supported. Student Photo file size must be less than 25KB. Click on Add button inside Add student photo. Select the photo where you saved all the student photo in a folder. Click on upload. You can be able to see the photo of the student. |
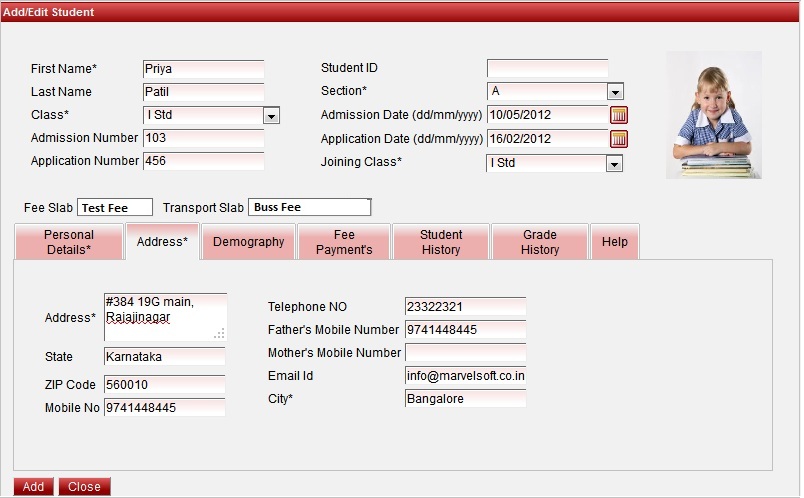
| Fill the Address details as shown in the image. User can select the State and City from the list. If you do not find state or city in the list, please enter manually. |
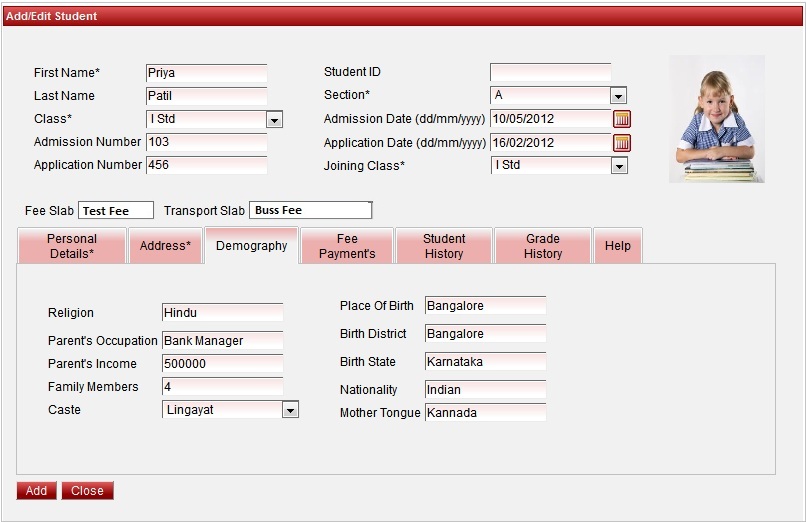
| Fill the Demography details has shown in the image. User can fill these details if they have the information, else later they can collect the information from the student and update the demography. |
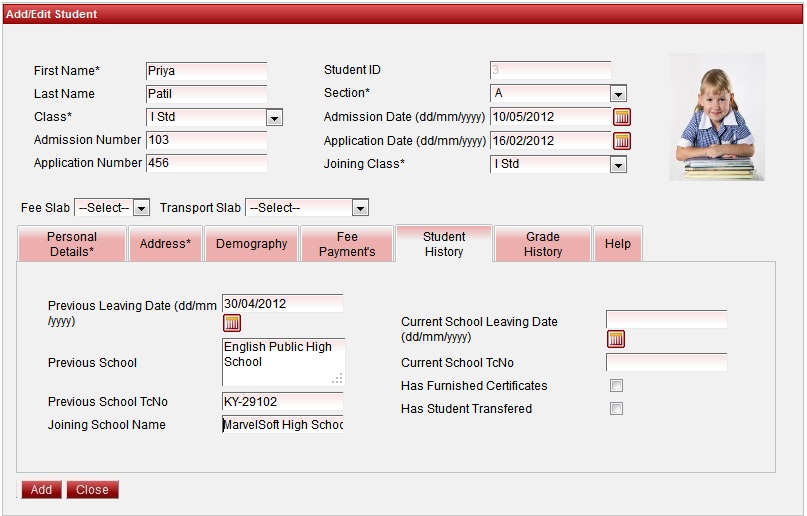
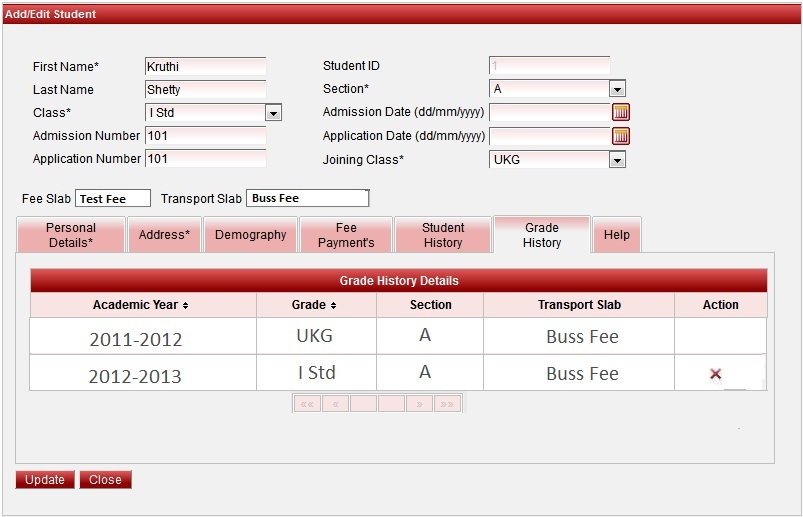
| We are adding the student to I Std in the student add example as shown in the figure. In the student history tab, for the columns Previous Leaving Date (Previous School), Previous School Name and Previous School TC No, Enter the Previous School details of the Student. Current School Leaving Date, Current School TCNo, Has furnished Certificate,Has Student Transferred details you can update when this particular student leaves your School. While Adding a new students you can leave these columns Blank. When a student Leaves your School and Request for a Transfer Certificate, you can record the students leaving details in the Student history Tab by filling the below information.
|
| Note In SchoolAdmin Lite 6.0 Edition, You will not be able generate Transfer Certificate Report as it is a Limited Edition. To Generate the Transfer Certificate you must upgrade to the Higher Version of SchoolAdmin. Contact MarvelSoft for more details. |
|
|
| The details given in help, helps the user to add student following a proper procedure. |
Labels